Lab 1 - Using Bruno and the WxCC HTTP Connector 
In this lab, you will learn two ways to interact with the Webex Contact Center (WxCC) APIs:
- From a laptop, using the Bruno API client.
- From within a WxCC flow, using the WxCC HTTP Connector.
By the end of this lab, you will have:
- Created a Webex Integration App for OAuth-based API access.
- Sent your first API calls to WxCC from Bruno (both
GETandPOST). - Configured the WxCC HTTP Connector in Control Hub.
- Built a flow that calls a WxCC API natively from Flow Designer to retrieve an AI-generated agent summary after a call ends.
Lab 1.1 - Create a Webex App Integration
You will create a Webex Integration App to obtain a Client ID and Client Secret. These credentials are used by Bruno to perform an OAuth 2.0 authorization flow against the WxCC APIs.
Instructions
- Navigate to the Webex for Developers website.
- Click Log In in the top-right corner and use the admin credentials provided for your POD.
- Once logged in, click your avatar in the top-right corner and select My Webex Apps.
- Click Create a New App.
- Click Create an Integration.
- Fill out the integration form with the following values:
- Integration Name:
WxCC API Lab - Icon: Pick any icon.
- App Hub Description:
WxCC API Lab Integration - Redirect URI(s):
https://oauth.usebruno.com/callback - Scopes: Check the following six scopes:
cjp:config
cjp:config_read
cjp:config_write
cjp:user
cjds:admin_org_read
cjds:admin_org_write
- Integration Name:
- Click Add Integration at the bottom of the page.
-
On the confirmation page, copy and save the Client ID and Client Secret somewhere safe (e.g., a text file). You will need them in the next section.
Webex App Integration
Client Secret
The Client Secret is shown only once. If you lose it, you will need to regenerate it from the integration settings page.
Lab 1.2 - Configure Bruno to Send API Calls to WxCC
Note
Full API documentation for Webex Contact Center is available here.
Instructions
Open Bruno on your lab laptop. The WxCC API collection was already imported during the Getting Started section.
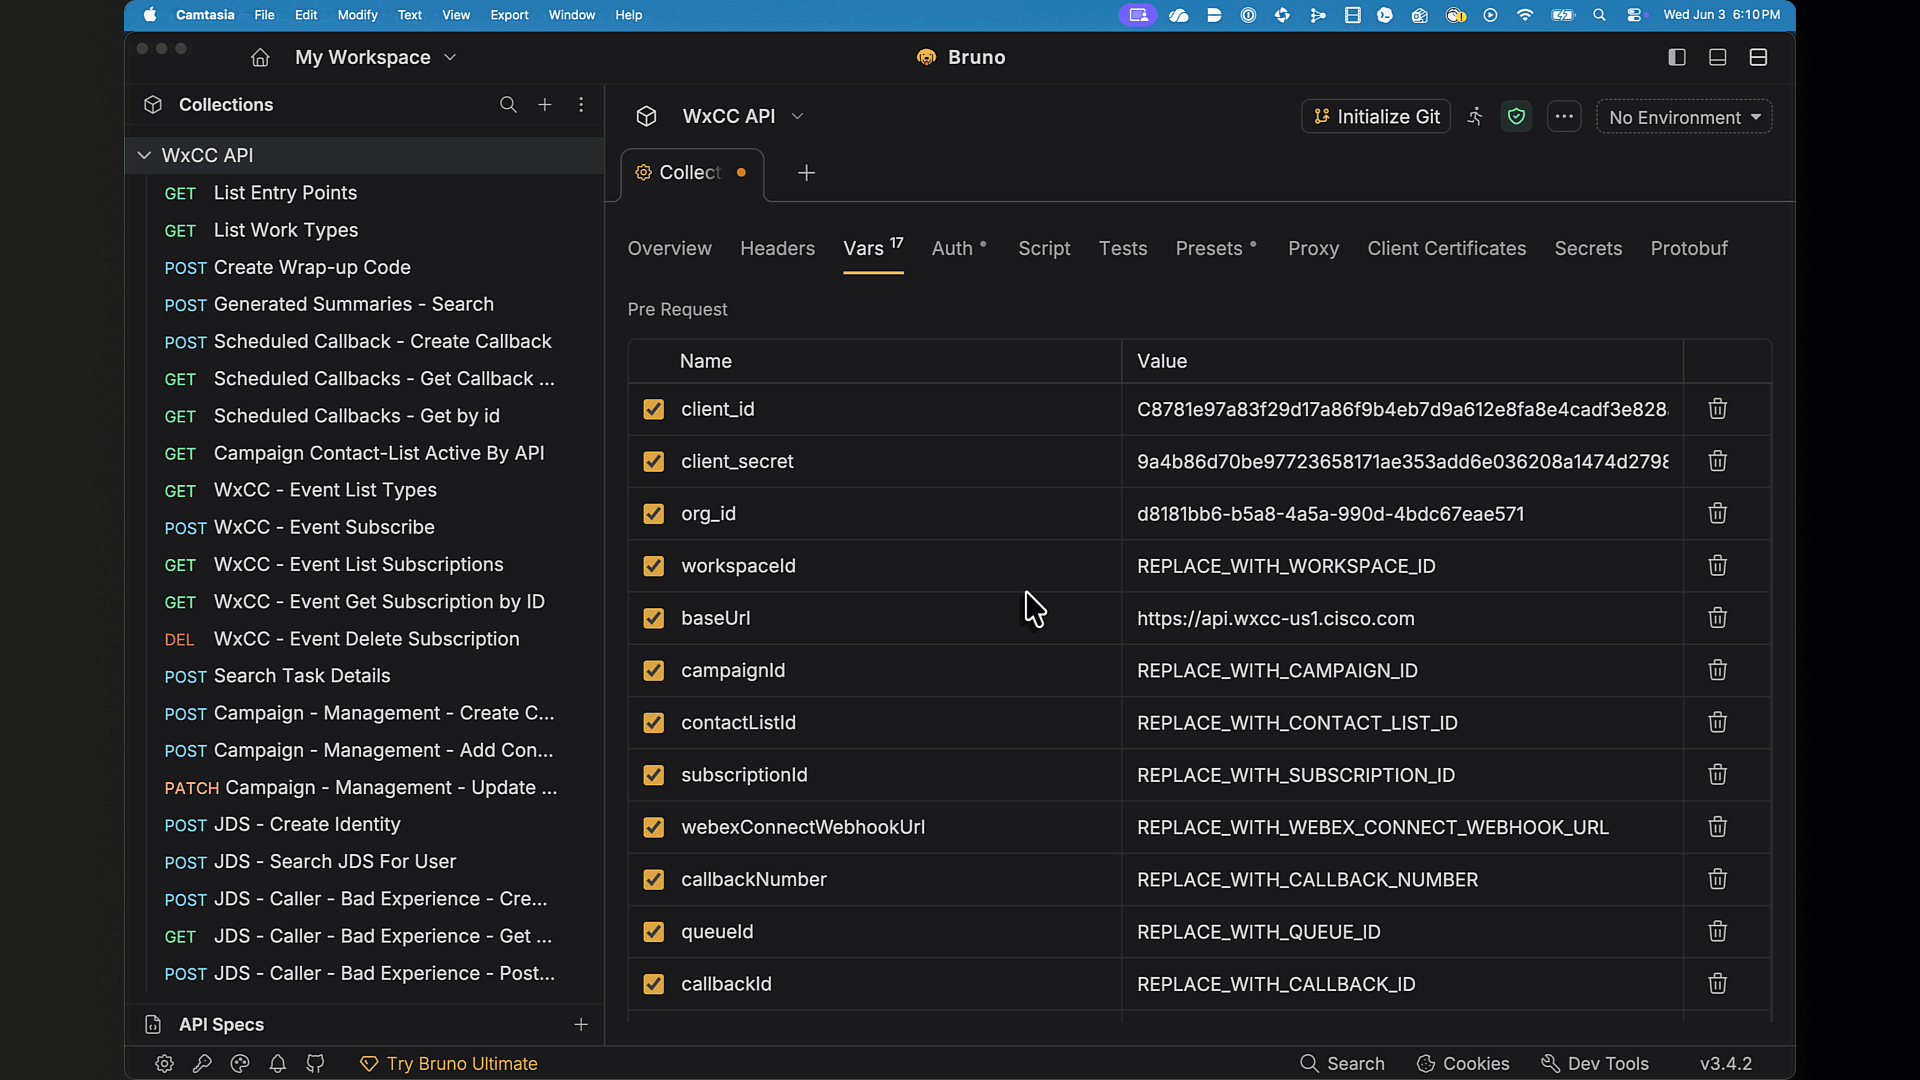
- In the left panel, click on the collection name to open its settings.
- Click on the Vars tab.
-
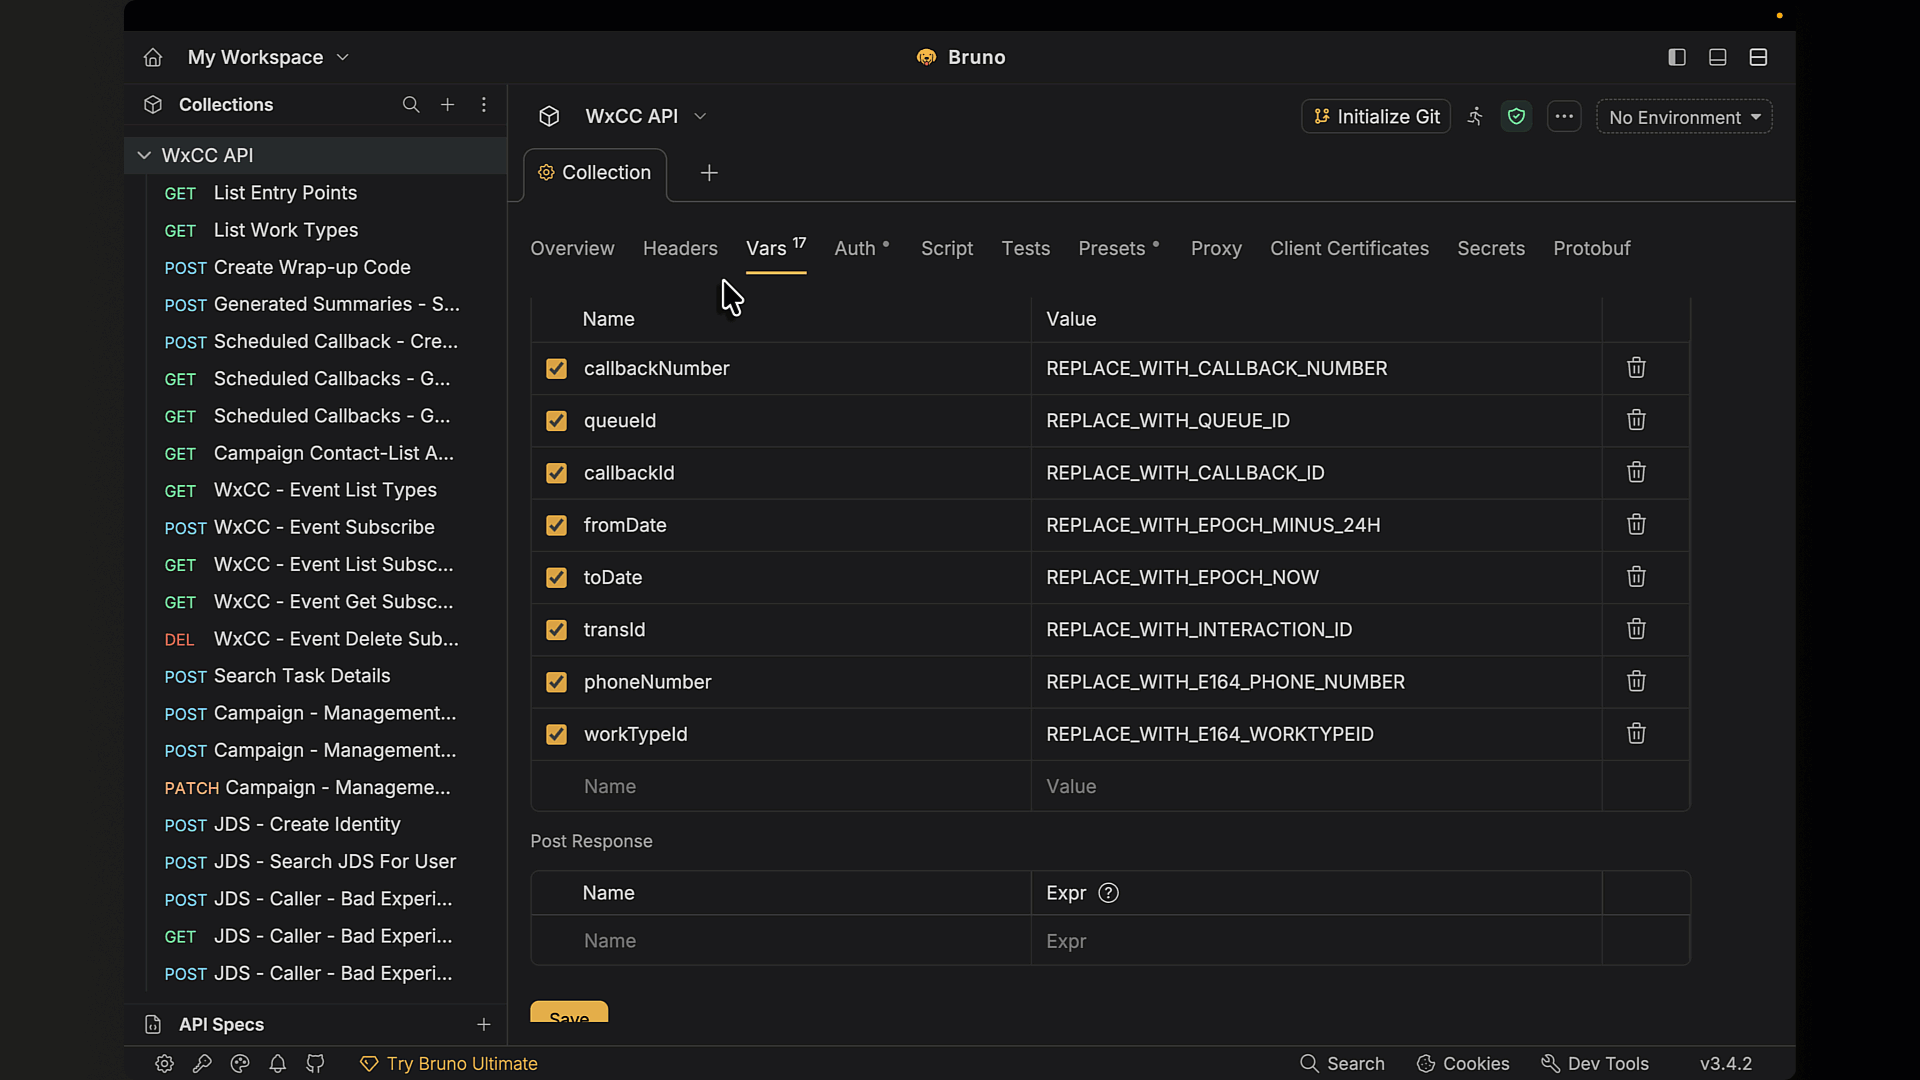
Update the value on the following variables:
client_id— The Client ID from the Webex App you created in Lab 1.1.client_secret— The Client Secret from the Webex App you created in Lab 1.1.org_id— The Organization ID for your lab tenant (provided in your POD credentials).
-
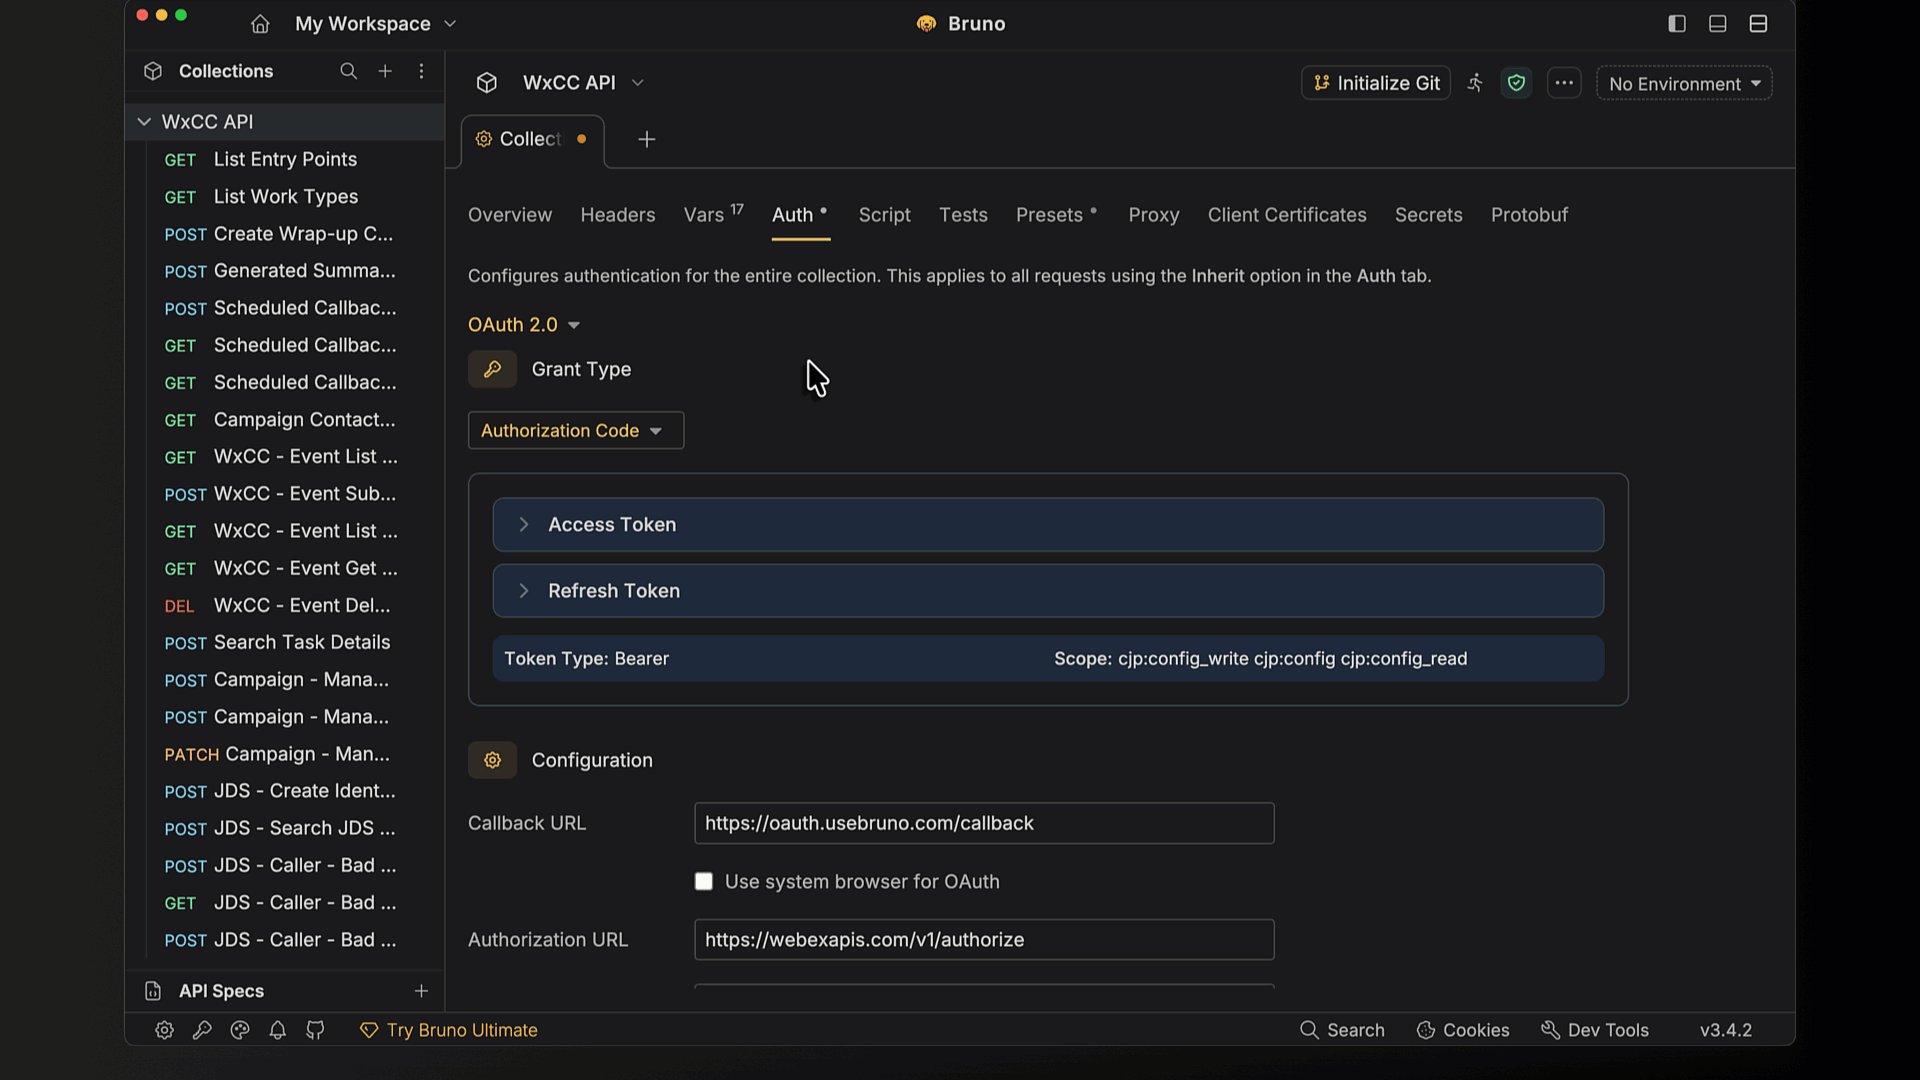
Click on the Auth tab (next to the Variables tab) and scroll to the bottom.
- Click the Get Access Token button.
- A Webex login window will pop up. Enter the admin credentials provided for your POD (the same ones used to create the Webex App integration in Lab 1.1).
- When prompted, accept the requested permissions.
-
Bruno will receive an Access Token and a Refresh Token via the redirect URL you configured. You can now use this token to send API calls to WxCC. Bruno will automatically refresh the token when it expires.
Get New Access Token
Lab 1.3 - Sending API Calls to WxCC from Bruno
In this section, you will send your first API calls to the WxCC platform. You will:
- List Entry Points — a read-only call to confirm authentication is working.
- Create a Wrap-up Code — a write call to confirm you can also modify tenant configuration.
- Verify the Wrap-up Code in Control Hub.
Step 1: List All Entry Points
Instructions
- In the left navigation pane of Bruno, expand the WxCC API Collection.
- Locate and click on the GET request named
List Entry Points. This opens the request in a new tab. - Click the Send button (arrow icon) to execute the request.
-
In the Response panel, you should see a
200 OKstatus and a JSON response containing an array of Entry Points configured in your tenant.List Entry Points
Checkpoint
If you receive a 200 OK response with a list of entry points, your Bruno authentication is working correctly. If you receive a 401 Unauthorized response, return to Lab 1.2 and refresh your access token.
Step 2: Create a Wrap-up Code
You will now create a Wrap-up Code named badExperience. Wrap-up codes are presented to agents at the end of a call to categorize the interaction outcome.
Creating a Wrap-up Code requires a workTypeId, which references the Work Type the code belongs to. Before sending the Create Wrap-up Code request, you must first retrieve the ID of the Default Wrapup Work Type by listing all Work Types in the tenant.
Retrieve and Create the Wrap-up Work Type ID
- In the left navigation pane of Bruno, click the GET request named
List Work Types. - Click Send to execute the request.
-
In the response, locate the object where
"workTypeCode"is"WRAP_UP_CODE". It should look similar to this:{ "id": "db1b317b-f458-4330-9212-c81a76eaa733", "name": "Default Wrapup Work Type", "description": "Default Wrapup Code Work Type", "workTypeCode": "WRAP_UP_CODE", "active": true, "systemDefault": true, "links": [], "createdTime": 1700608535000, "lastUpdatedTime": 1700608535000 } -
Copy the value of the
idfield. -
In the Bruno collection, open the Vars tab and update the
workTypeIdvariable.Why two Work Types?
Your tenant has two default Work Types: one for Idle Codes (
IDLE_CODE) and one for Wrap-up Codes (WRAP_UP_CODE). Make sure you copy the ID for theWRAP_UP_CODEentry — using the wrong one will cause the next step to fail. -
In the left navigation pane, click the POST request named
Create Wrap-up Code. - Click on the Body tab to view the request payload.
-
Confirm the request body matches the following details:
{ "name": "badExperience", "description": "API Lab Recovery Test", "defaultCode": false, "active": true, "workTypeId": "{{workTypeId}}", "workTypeCode": "WRAP_UP_CODE" } -
Click Send to execute the request.
-
You should receive a
200 OKresponse containing the details of the newly created Wrap-up Code, including itsid.Create Wrap-up Code
Step 3: Verify in Control Hub
Instructions
- Open https://admin.webex.com in a new browser tab and log in with the admin credentials for your POD.
- In the left navigation pane, go to Services > Contact Center.
- In the Contact Center menu, navigate to Idle/Wrap-up Codes.
- Confirm that your
badExperiencewrap-up code appears in the list.
Checkpoint
You have successfully sent both GET and POST API calls to WxCC, and verified the change in Control Hub. Bruno is now fully configured for the rest of the lab.
Lab 1.4 - Calling APIs using the WxCC HTTP Connector
So far, you have called WxCC APIs from your laptop using Bruno. In real-world deployments, the most common place to call APIs is from inside a WxCC flow — for example, to enrich a call with external context, or to retrieve data generated during the call itself.
What is the HTTP Connector?
The HTTP Connector is a Control Hub object that holds the authentication context (scopes and credentials) for calling WxCC APIs from within Flow Designer. Once configured, you can drop an HTTP Request activity into any flow and select the connector — token management is handled automatically.
In this section, you will:
- Enable the AI Features required to generate agent summaries.
- Configure Real-Time Transcription (RTT) in the existing flow — RTT is a prerequisite for summary generation.
- Create the HTTP Connector in Control Hub.
- Extend the existing flow to call the List Summaries API after the call ends.
- Test the end-to-end behavior.
Step 1: Enable AI Features in Control Hub
Before any agent summary can be retrieved via API, the Generated Summaries feature must be enabled in Control Hub. Summaries are produced from the call transcript, so Real-Time Transcription must also be enabled.
Instructions
- In Control Hub, navigate to Services > Contact Center.
- In the Contact Center menu, click AI Features.
- Locate the Generated Summaries toggle and enable it.
- Select all available summarization types and make sure the Apply to all queues toggle is on.
- Locate the Real-Time Transcription toggle and enable it.
-
Click Save.
AI Features scope
In a production deployment, you could scope summarization and RTT to specific queues to control cost and ensure relevance.
AI Features Configuration
Both features are required
Enabling Generated Summaries alone is not enough — the summary engine relies on the transcript produced by Real-Time Transcription. Both toggles must be on, and RTT must also be configured in the flow itself (Step 2 below).
Step 2: Configure Real-Time Transcription in the Flow
Enabling RTT in Control Hub is only half of the configuration. The flow must also include a Start Media Stream activity in the Event Flows canvas, otherwise the audio will not be sent to the transcription service.
You will add this configuration to the existing BasicQueueFlow flow.
Open the existing flow
- In Control Hub, navigate to Contact Center > Flows.
- Locate
BasicQueueFlowin the flow list and click on it. - Toggle the Edit switch at the top of the canvas to enter edit mode.
Add the Start Media Stream activity
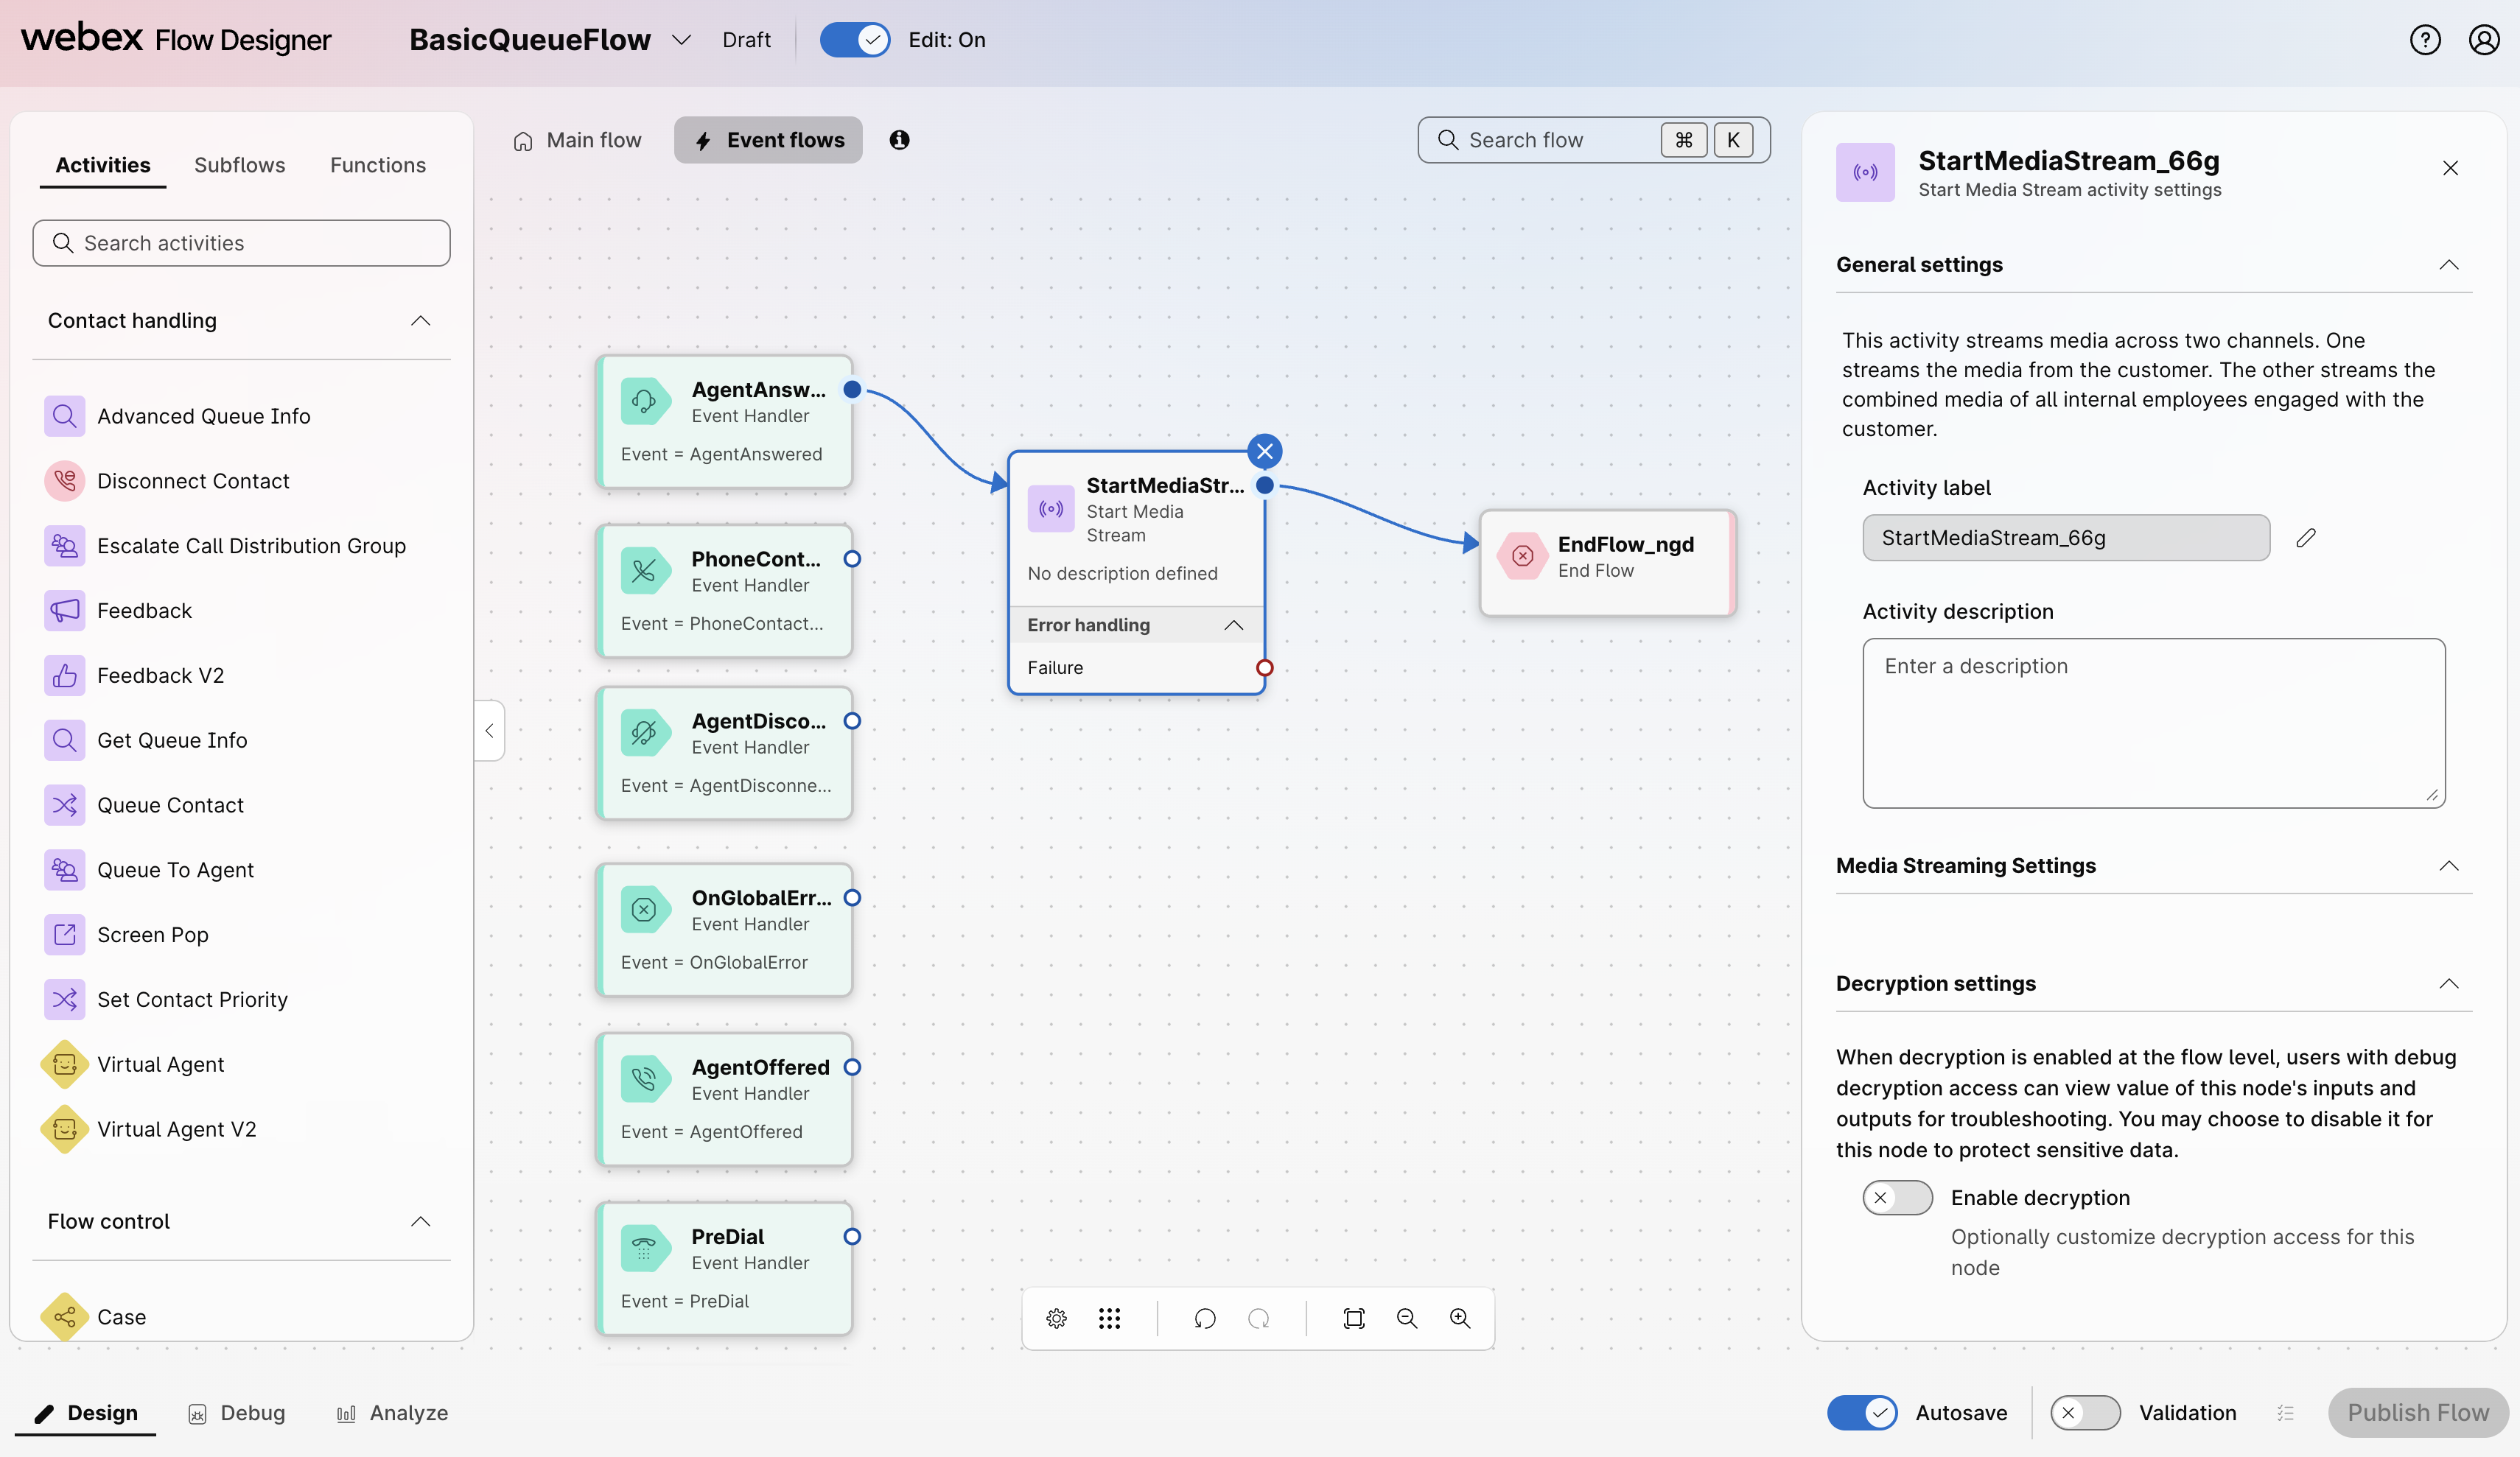
- At the top of the Flow Designer, switch from the Main Flow view to the Event Flows view.
-
Locate the event handler node for AgentAnswered.
Event name change
Flow Designer is releasing an updated UX in which the AgentAnswered event has been renamed to AgentAccepted. Either event can be used to start the media stream required for RTT — use whichever appears in your tenant.
-
From the Activities Library, drag a Start Media Stream activity onto the canvas.
- Connect the AgentAnswered (or AgentAccepted) event handler to the Start Media Stream activity.
- From the Activities Library, drag an End Flow activity onto the canvas.
-
Connect the output of Start Media Stream to the End Flow activity.
Start Media Stream branch
Leave edit mode open
You will continue editing this flow in Step 4 to add the API call. Do not publish yet.
Step 3: Create the HTTP Connector
Instructions
- In a browser, log in to Webex Control Hub with your POD admin credentials.
- In the left navigation pane, go to Services > Contact Center.
- In the Contact Center menu, click Integrations.
- On the Integrations page, locate the card labeled Webex Contact Center and click Add Connector.
-
In the connector configuration form, fill in the following:
Field Value Name of the connector WxCC_API_PODXX(replace XX with your POD number)Access Read-Write -
Under the Authorization section, click Authorize.
-
Click Add Connector.
HTTP Connector configuration
Step 4: Add the Wrap-Up Summary Retrieval to the Flow
Your tenant already has a working voice flow named BasicQueueFlow that:
- Greets the caller.
- Queues the contact to a queue routed to User1 (your test agent).
- Ends the flow when the call disconnects.
In Step 2 you added Real-Time Transcription to the AgentAnswered event branch. You will now extend the PhoneContactEnded event branch to retrieve the AI-generated agent summary via API.
Why this is interesting: WxCC can automatically generate a textual summary of an agent's interaction with a customer — capturing key points, customer sentiment, and resolution status. This summary is created after the call ends, once the AI has had time to process the transcript and the agent has submitted their wrap-up. By calling the List Summaries API from within the flow, you can retrieve that summary programmatically and pass it to downstream systems — for example, to attach it to a CRM record, send it to a supervisor, or feed it into another workflow.
What you will add to the flow:
- A delay, to wait for the summary to be generated and the agent to submit wrap-up.
- An HTTP Request to the List Summaries API, using the
interactionIdof the call. - An End Flow node to close the event branch.
Create the flow variables
Before the HTTP Request activity can write the parsed summary fields anywhere, the flow needs four custom variables to hold them. You will create these as Custom Flow Variables so they are accessible from any activity in the flow.
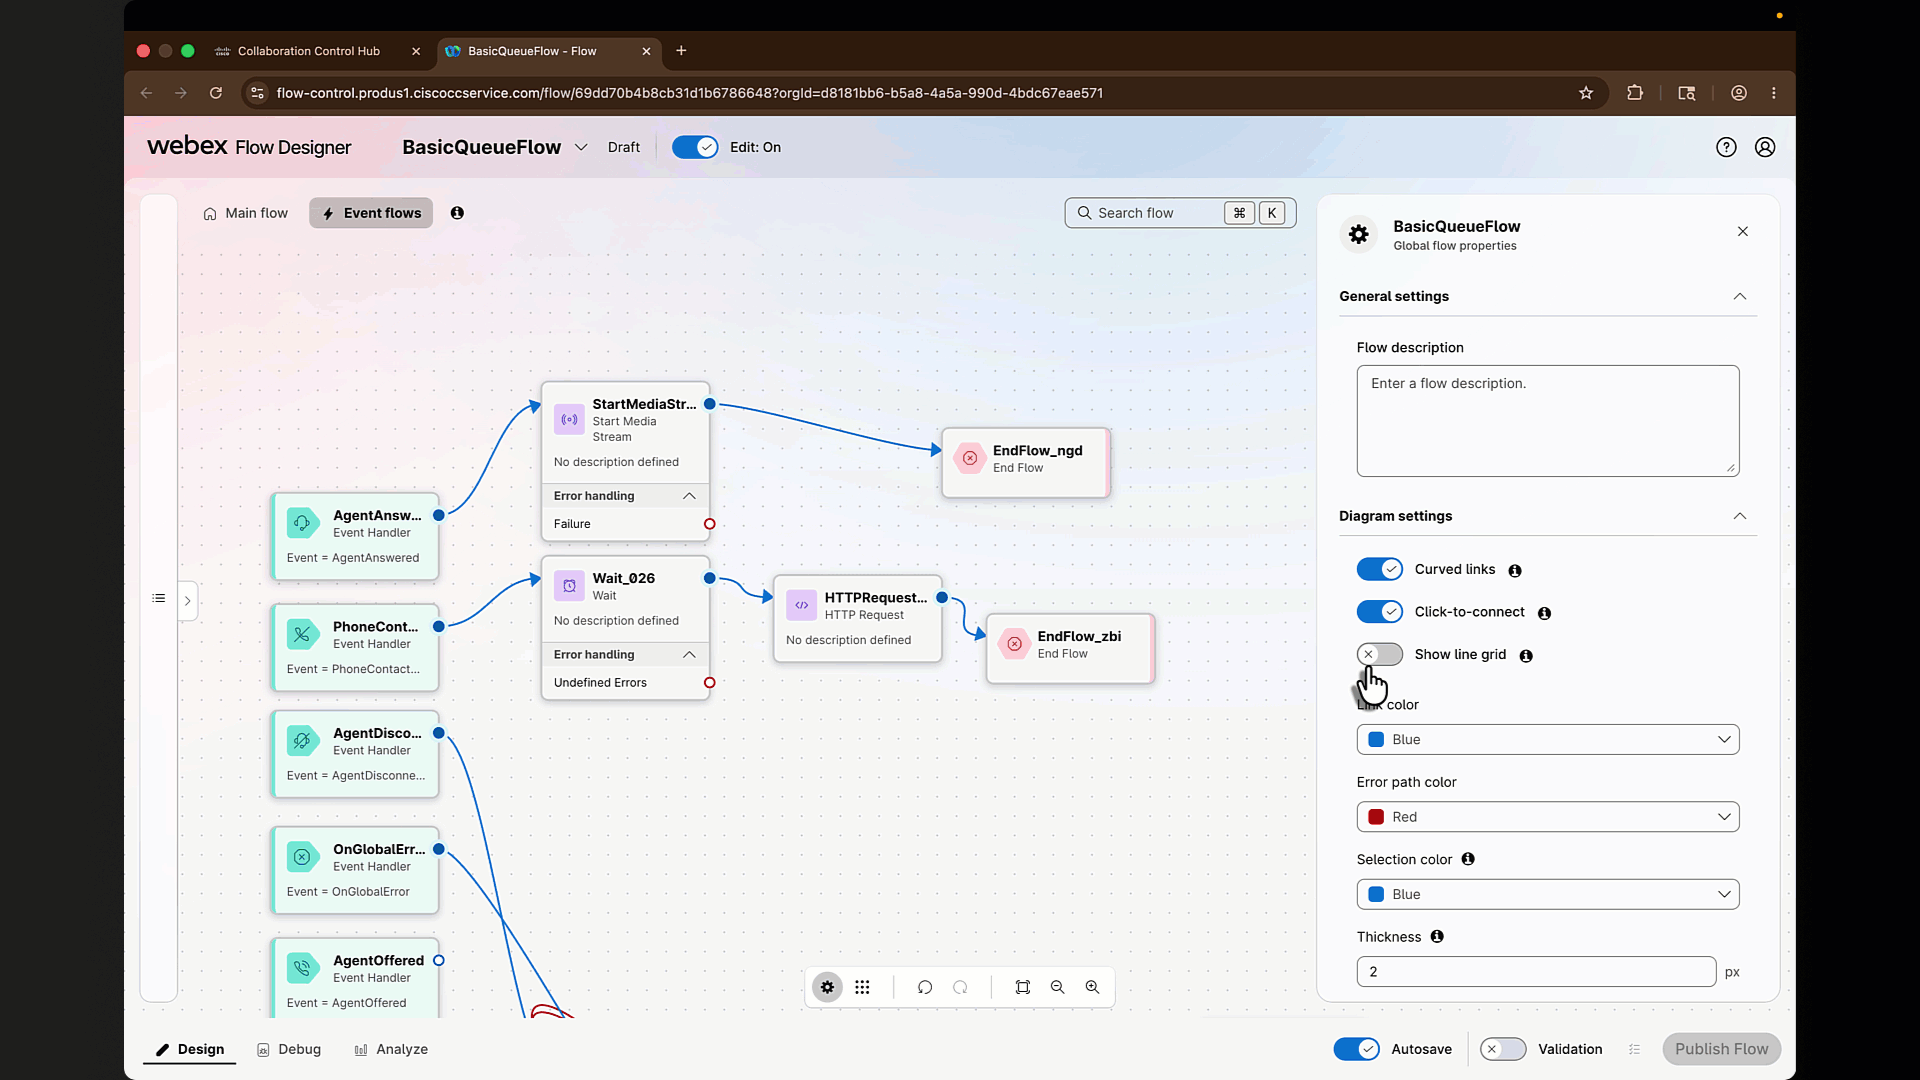
- In the Flow Designer, click on the Global Flow Properties panel (the gear icon in the top-right of the flow editor).
- Under Custom Flow Variables, click Create flow variable.
-
Create the following four variables, one at a time:
Variable Name Type Default Value Agent Viewable Desktop Label nextStepsString(empty) No N/A initialContactReasonString(empty) No N/A keyActionsTakenString(empty) No N/A additionalContextString(empty) No N/A Custom Flow Variables
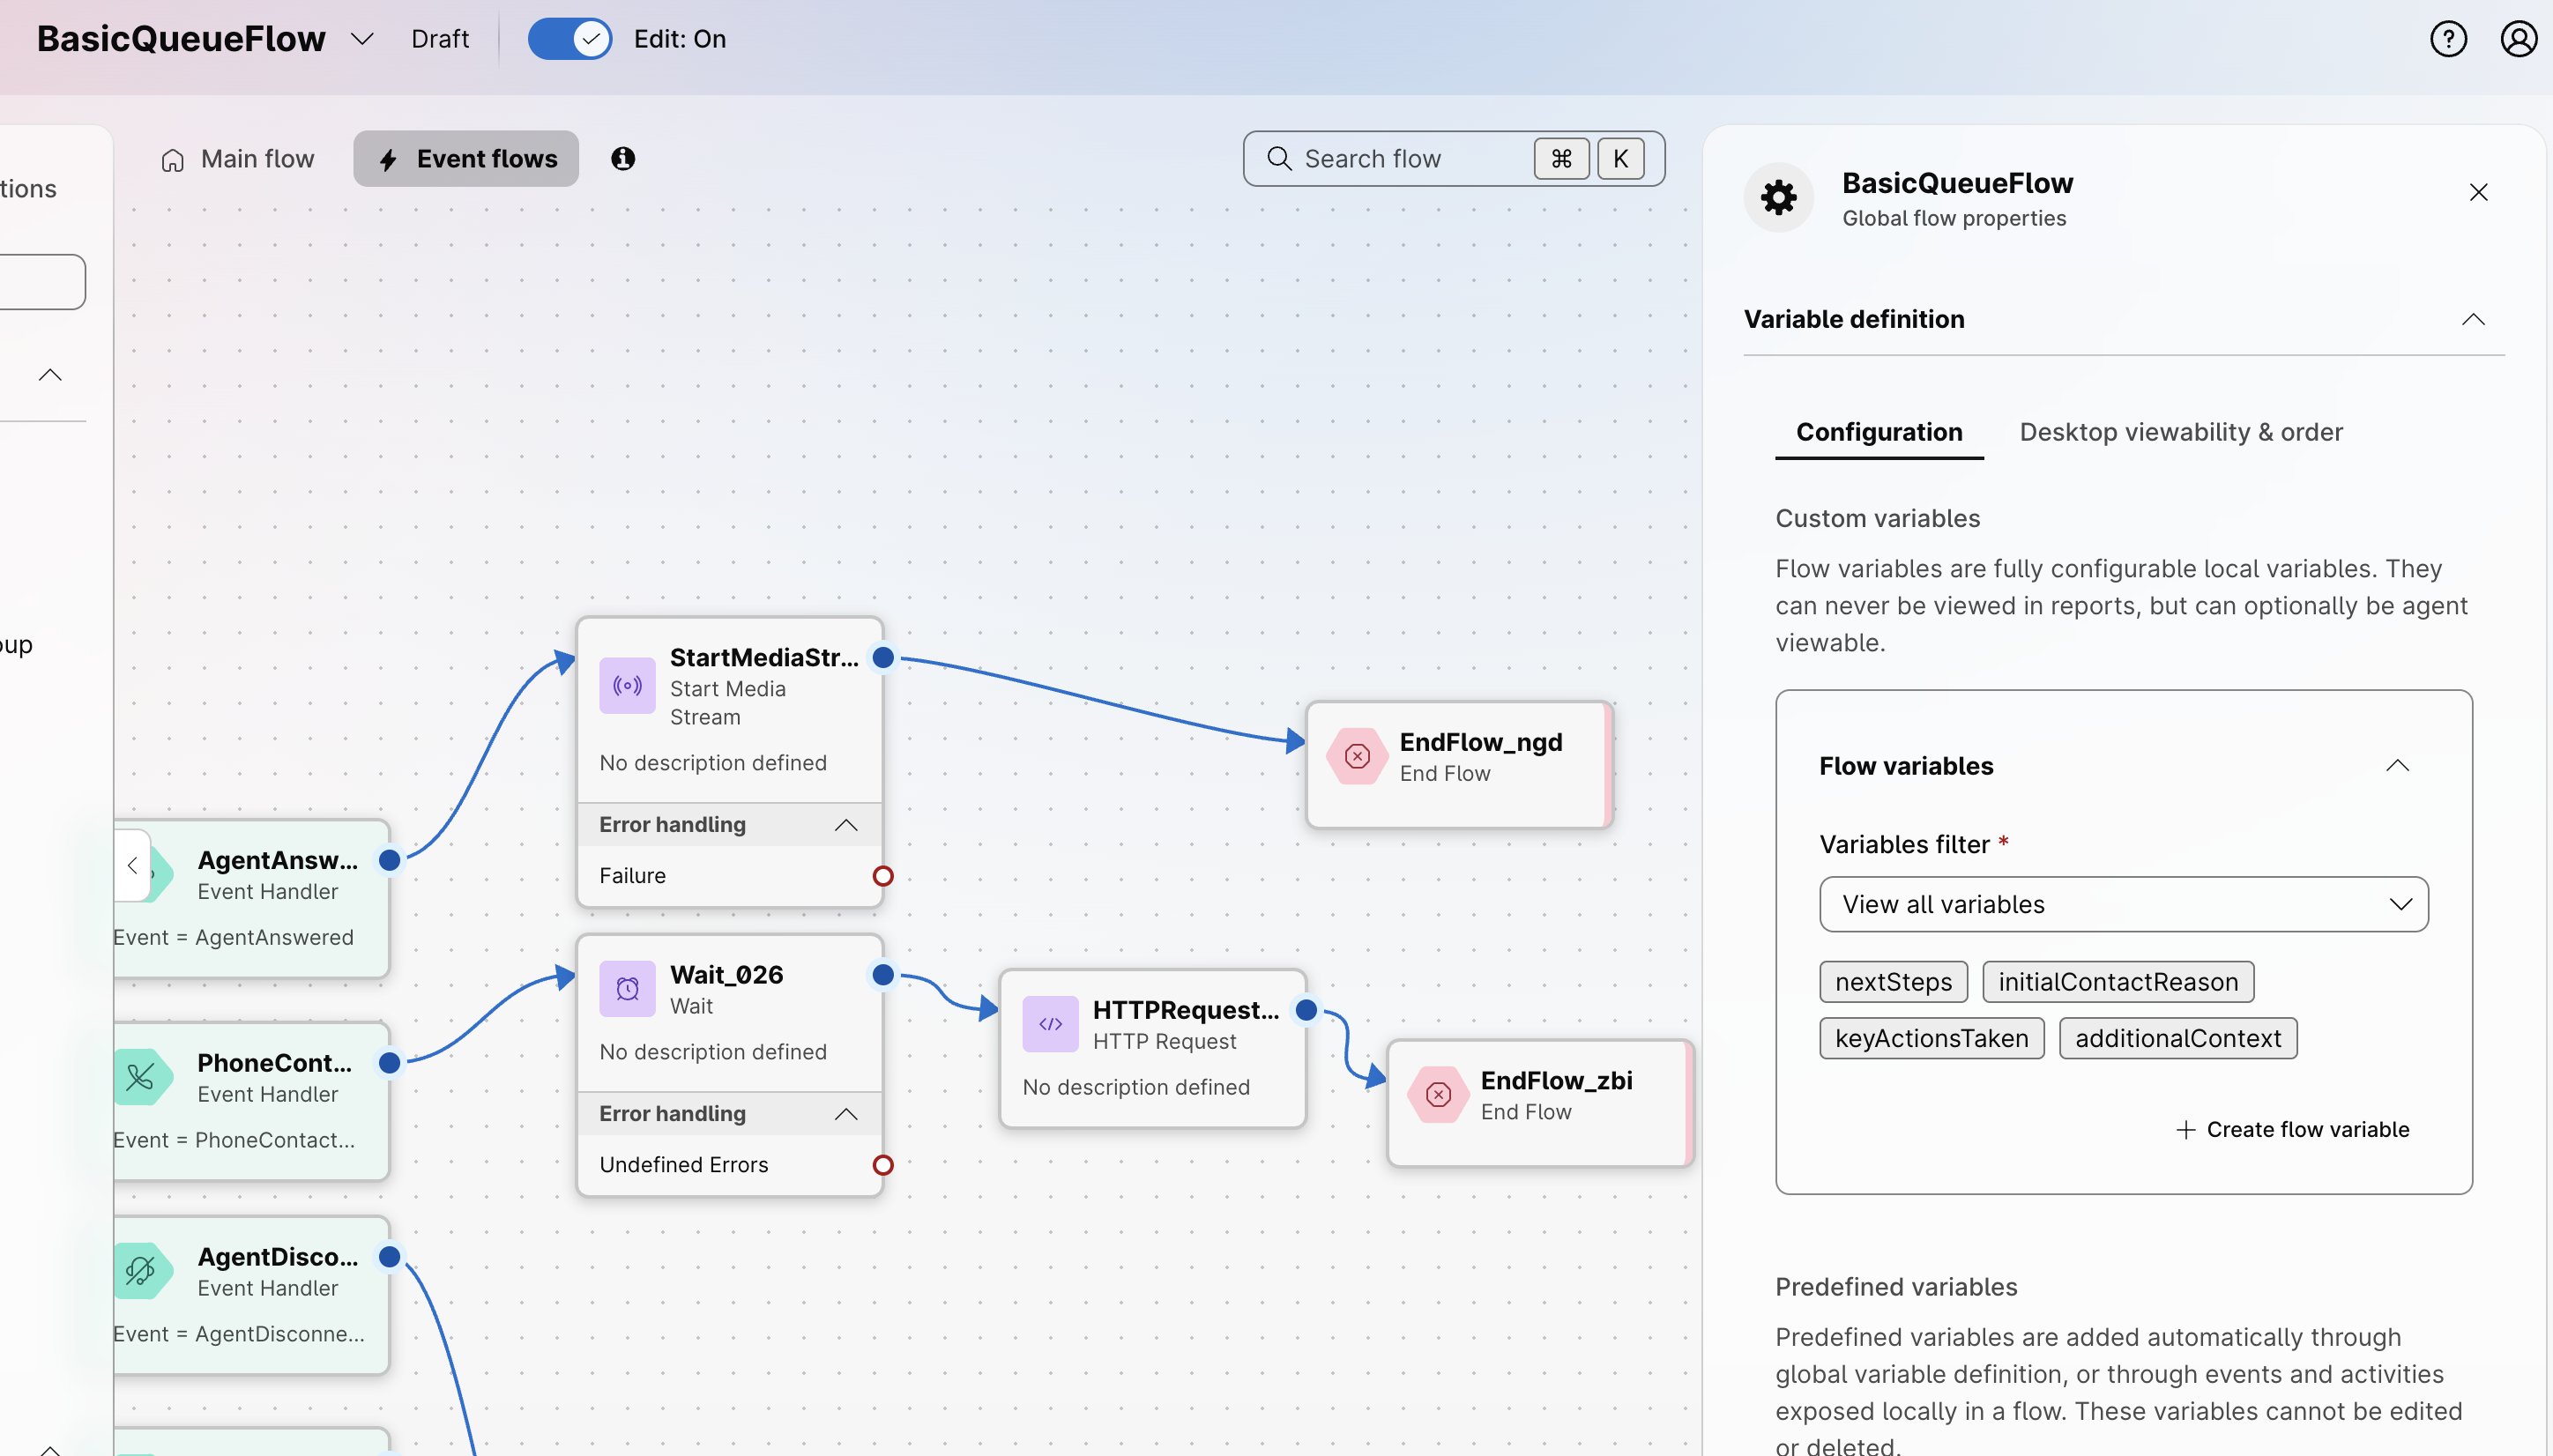
The four summary variables declared under Global Flow Properties.
Locate the PhoneContactEnded event and Add a Delay node
-
From the Event Flows view of
BasicQueueFlow, locate the event handler node for PhoneContactEnded.Why PhoneContactEnded?
The
PhoneContactEndedevent fires when the call has fully terminated — after the customer hangs up and the connection is closed. This is the appropriate trigger for any post-call activity that does not need to interact with the agent during wrap-up. -
Confirm that no other activities are currently connected to this event handler. You will be building this branch from scratch.
- From the Activities Library, drag a
Waitnode onto the canvas. - Connect the PhoneContactEnded event handler to this activity.
-
Configure a wait time of
2 minutes.The agent summary is not available immediately at the moment of disconnection — the AI needs a couple of seconds to process the realt-time transcript, and the agent typically submits their wrap-up code shortly after the call ends. To give the system time to produce the summary, the flow needs to wait before making the API call.
Tuning the delay
For production environments, the wait time will depend in the use case and agent best practices. It is recommended to follow the guideline from the Auto Wrap-Up timer configured in the tenant, if the agents are given 3 minutes to enter their notes, then configure the wait time to a few seconds over 3 minutes.
Add the HTTP Request activity
- From the Activities Library, drag an HTTP Request activity onto the canvas.
- Connect the delay activity to the HTTP Request activity.
-
Click on the HTTP Request activity. On the right-hand panel, configure the following:
Field Value Activity Label GetAgentSummaryUse Authenticated Endpoint Enabled (toggle ON) Connector WxCC_API_PODXX(the one you created in Step 3)Request Path /generated-summaries/searchMethod POSTHeaders Content-Type: application/json -
Set the Request Body to the following JSON. Enter your organization ID in the orgId field:
{ "interactionId": "{{NewPhoneContact.InteractionId}}", "orgId": "REPLACE_ORG_ID", "searchType": "INTERACTION" } -
Scroll to the Parse Settings section.
-
Add the following four output variables. Click + Add after each one to create the next:
Output Variable Name Path Expression Variable Type nextSteps$.summaries.POST_CALL.*.nextStepsStringinitialContactReason$.summaries.POST_CALL.*.initialContactReasonStringkeyActionsTaken$.summaries.POST_CALL.*.keyActionsTakenStringadditionalContext$.summaries.POST_CALL.*.additionalContextString
Note
The List Summaries API returns a structured JSON object that breaks the agent summary into four distinct fields. Rather than capturing the whole response as a single string, you will create one flow variable per field. This makes it easier to use each piece of context independently in downstream activities.
Below is a sample response showing the structure you will be parsing:
{
  "orgId": "d8181bb6-...-4bdc67eae571",
  "interactionId": "390cde87-...-1e971ed7c823",
  "searchType": "INTERACTION",
  "summaries": {
    "POST_CALL": {
      "d8181bb6-...:390cde87-...:a05840c5-...": {
        "nextSteps": "Caller to confirm later if they want to hold the payment plan.",
        "initialContactReason": "Customer wants to set up a payment plan.",
        "keyActionsTaken": "Set up payment plan for $100 this month.",
        "additionalContext": "The caller intends to make a payment of $100 this month and $200 next month, but is considering putting the payment on hold."
      }
    }
  }
}
About the wildcard in the path
The key under POST_CALL is a composite identifier built from the orgId, interactionId, and an internal record ID — it is different on every call. Using * as a wildcard in the JSONPath expression lets you target the fields without needing to know the exact key.
Parse Settings configuration
Publishing the Flow
- From the Activities Library, drag an End Flow activity onto the canvas.
- Connect the output of the
GetAgentSummaryHTTP Request to the End Flow activity. - Enable the Validation slider at the bottom of the canvas.
- Confirm there are no validation errors.
- Click Publish Flow and select Latest as the version label.
Step 5: Test the Flow
Place a test call
- Sign in to the Agent Desktop as your test agent using the User1 credentials provided for your POD.
- Place the agent in an Available state.
- From your phone, call the Entrypoint number provided in your POD credentials.
- Have a short conversation with the agent (15–30 seconds is enough for a summary to be generated). Speak clearly and use a few full sentences so there is meaningful content to summarize.
- End the call.
- As the agent, submit a wrap-up code on the Agent Desktop.
- Wait for the configured delay to expire for the API call to fire.
Inspect the response
- In Control Hub, navigate to Contact Center > Flows and open
BasicQueueFlow. - Open the Flow Debugger.
- Locate the most recent execution of the flow.
- Click on the
GetAgentSummaryactivity to view both the raw response and the parsed output variables. -
Confirm that each of the four output variables holds a meaningful value:
Variable Expected Content nextStepsA short statement of what should happen after the call. initialContactReasonThe reason the customer originally contacted the center. keyActionsTakenA summary of what the agent did during the call. additionalContextAny extra details captured from the conversation.
Checkpoint
You have successfully called a WxCC API natively from a Flow Designer flow using the HTTP Connector. The flow waited for the agent summary to be generated, retrieved it via API, and parsed each section of the summary into a dedicated flow variable — ready to be used by any downstream activity.
Troubleshooting
- All four variables empty, but the raw response contains a summary: The JSONPath expressions did not match. Confirm that you used
*as the wildcard betweenPOST_CALLand the field name, and that the field names are spelled exactly as shown. - Raw response contains an empty
summariesobject: Confirm that Generated Summaries and Real-Time Transcription are enabled in Control Hub (Step 1) and that the Start Media Stream activity is wired to the AgentAnswered event (Step 2). If both are configured, increase the delay and try again. - HTTP 401 / 403: Re-authorize the HTTP Connector in Control Hub (Step 3).
- HTTP 400 - Bad Request: Verify the request body fields match the schema exactly (
interactionId,orgId,searchType— case-sensitive). - HTTP 404: Confirm the request path matches the documented endpoint.
- No record in flow debugger: Confirm the entry point is pointing to
BasicQueueFlowwith the Latest version label.
Summary
In this lab, you have:
- ✅ Created a Webex Integration app to obtain OAuth credentials.
- ✅ Configured Bruno with the required variables and obtained an access token.
- ✅ Sent GET and POST API calls to the WxCC platform from Bruno.
- ✅ Created a Wrap-up Code in your tenant via API.
- ✅ Configured the WxCC HTTP Connector in Control Hub.
- ✅ Built and tested a flow that retrieves an AI-generated agent summary from within Flow Designer.
You now have two complementary ways to interact with WxCC APIs — externally (Bruno) and natively (HTTP Connector). Both will be used throughout the rest of this lab.
Congratulations! You have completed Lab 1. Use the navigation menu on the left to proceed to Lab 2.